04
Oct
Whether you’re looking to flavour a dish, give away to family, or keep vampires away (those last two options may be one and the same to you), garlic is a pungent tuberous plant that is easy to grow and found in almost every kitchen. Imagine the pride of successfully growing your own! Grow Spaces has 5 tips that will help to ensure a successful yield.
Time
Fall garlic, or overwinter garlic, is a great way to maximize the use and efficiency of your space. Remember, garlic is harvested in early to mid July, so as soon as your garlic is harvested, it’s time to direct sow or transplant your fall garden. When your growing season has come to an end and the evening temperatures begin to drop, but the ground has not yet frozen (around mid-October), it is a perfect time to tuck those garlic cloves in for the season.
Type
Technically, yes, you can use supermarket garlic to plant in your garden, but oftentimes it’s been sprayed, stored for so long that it decreases the clove’s viability, and the garlic variety may not be best suited to your climate. You’ll want to use garlic that has been specifically grown for seed stock, for your climate zone, and within a timely expiry date (which it will mention on its packaging) from your local nursery or garden centre.
Technique
Usually fall garlic seed stock is sold as an entire head that you will separate into cloves. No, you do not have to peel off their papery coating of each clove, this will give them a little insulation in the soil. Each clove will need about four to six inches around to create a head of garlic. Remember: the more room you give them, the larger the head will have a chance to become. Create a hole a couple inches in diameter that is five inches deep, and make them six inches apart from one another. You will place one clove into each hole with the pointed end up (the rounded end is where the roots will sprout). Fill in your hole, give the soil a nice pat down.
Treatment
Water your garlic once you’ve planted it in the bed. I can’t suggest mulching your garlic bed enough. A six-inch layer of organic mulch will keep the soil moist, will encourage root development over the winter, and will protect your little garlic knobs as they develop. You won’t need to water the garlic bed often, fall usually brings its fair share of rain; however, if there is a prolonged period of no precipitation, feel free to feel the soil beneath the mulch. If it’s dry, a deep watering will tie it over until the next rain.
Turnover
Fast forward: The winter was a cold and blustery one, your garlic has undergone a process called vernalization where it has split into a series of bulblets, and it has developed the beginnings of a root system. April has arrived and the days are starting to become longer and warmer, but the nights can still threaten frost. If you keep the mulch on the bed, it will retain the cold of the “attempting to thaw” soil, so remove it and allow the sun to begin to warm the earth. Here at Grow Spaces, we create a make-shift greenhouse with a clear polyethylene sheet is placed over flexible rods so that the sheet doesn’t directly touch the soil surface. This creates a greenhouse effect where heat and humidity are retained while protecting against frost and cold nights. Remove the polyethylene structure in late May as the threat of frost dwindles significantly (but keep an eye on that weather app). You’ll want to feed your garlic at this time with a fertilizer high in nitrogen; this will help to develop the foliage needed to channel energy to your garlic root. At the end of May, a fertilizer with a higher phosphorus level will assist in the development of the bulbous head; a fertilizer with the NPK numbers 5-10-5 will be helpful, and make sure to follow the directions on the package.
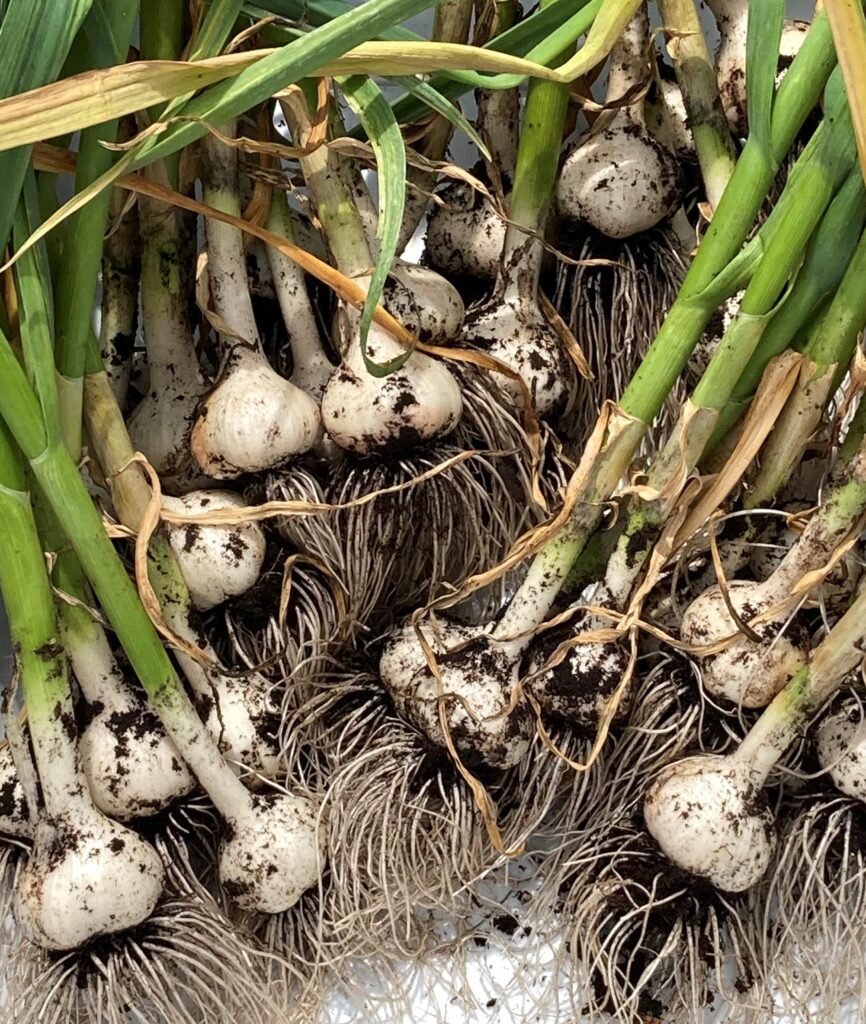
In mid June, your garlic plant will sprout a stem with an adorable bud at its tip. This is called a garlic scape and should be clipped as close to the main plant as possible to refocus the plant’s energy to the garlic head. But fear not, these clippings won’t go to waste! The garlic scape is incredibly flavourful and can be roasted, pan fried, or made into pesto sauce. Waste not, want not.
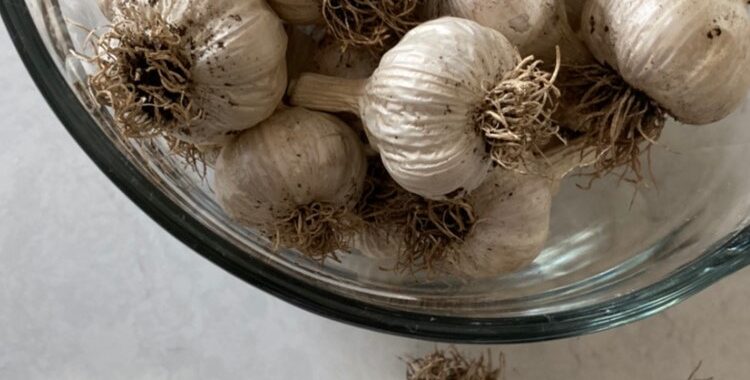
By mid July, the foliage of your garlic plant will have browned and withered. This is when you know it is time to harvest your garlic. Pulling them from the ground, brush off the excess dirt and, if the weather is forecast to be clear of rain, you can lay them to cure or dry on the soil surface for two weeks. Otherwise, bring them into a sheltered space where they can avoid moisture to cure. This process both intensifies the flavour and prepares the head for long-term storage. And voila (!), your crop has spanned three seasons and you have the satisfaction of knowing where each and every bulblet of garlicky goodness came from.